**Warning: This is wordy and I didn’t believe in focusing photos, apparently. I also didn’t own a tripod…and it was Christmas. So, be ready for Christmas in August! Woo!**
OK…so, we’ve admittedly never taken on a big whole-room reno. It’s not something we’ve ever been in the position to do (financially or otherwise). We actually live in a rented house, but not in the typical “renter” sense. When I was in college, my parents bought a house for my roommates and me to live in knowing I had 3 years left in school. My junior year, I moved out with my two lovely friends, Katie and Meredith, and we lived together for our last two years of undergrad. Then, my friend Greta moved in during my Master’s and my friend, Lauren moved in during my first year of teaching. At the end of that year, I was married to my first husband, then lived here alone, and finally, with Chris (and Jess for two summers…and Michael) for almost 3 years now!
My mom still owns the house, but we pay the mortgage and take care of most home-related things as best we can. She lives 2 hours away, so we’re usually in touch with professionals (like when our AC broke- worst summer ever) and try to do cosmetic things ourselves. **Funny story, when I first drafted this I had no idea our AC was going to be undercharged and not work AGAIN this summer!** Last summer, we decided to embark on the biggest DIY project to date. Luckily, at the end we still liked each other and like our house WAY more.
Mom paid for us to get all. new. floors. There may have been some squealing/dancing/merriment that ensued (not just from me). We went to Lumber Liquidators where the manager, Mike, was super helpful. He answered our questions, measured our square footage, estimated padding, and took Mom’s credit card # over the phone. He even taught me how to tell a credit card type from the first digit of the card number. I’m a nerd.
Now, before I give you a million details, please note that our floors don’t get a *ton* of traffic. Three adults and two cats live here, we mainly use one room (the living room), and we don’t plan on being in this house forever. We ordered a very thin laminate floor because we are…frugal…and we don’t regret it. (Our flooring was called Black Forest Oak, but I can no longer find it on the website! Sorry!) However, this floor was slightly frustrating to install because it was SO thin that it didn’t “click” like they said it should. Also, it does chip super easily when you’re installing it. Now that it’s in, we’re not noticing any problems, but it was touch and go in a few places and I may or may not have used clear nail polish to make sure one corner stayed down. We weren’t sure if we would have enough flooring to use brand new pieces if we noticed defects so we tried to make do as best we could. **Update: we have TONS of this flooring left over, so overestimating is good…even though we still have extra boxes of flooring.**
Dear future buyers of this house, please don’t crawl around to inspect our floors. Please just buy this house as we’ve put very much love into it. K, thanks. Love, us.
OK, we started in Michael’s room because…he has the least amount of stuff in this house and it meant we had to finish it asap. Poor boy’s stuff was out on the back porch. We had torn out the carpet in Michael’s room before he ever moved in last June because…it had some cat pee on it and it was grossing me out. Michael lived on concrete floors for about two months before we started this little endeavor. I don’t have many pictures of this room because most of them are awful since we worked VERY late into the night with one tiny lamp. There are definitely spots where I would redo this room if we could/wanted to, but it wasn’t bad for our first room.
Some things that may be different from other floor-laying blogposts: we did NOT pull up baseboards. When we tore out carpets, there was TONS of space under the baseboards so we just floated the floor with some underlay in between the concrete and the flooring itself. This does use TONS of spacers. I mean, tons. It was crazy town how many spacers we were rotating around to do the whole room. **Tip: run your underlay opposite of your floor planks.**
This is maybe the best picture I got (during the entire 5 month process) that describe the color of our flooring. Yes, it took us 6 months. We couldn’t start until the end of July (by the time the floors came in and they acclimated) and then we went on 2 weeks of vacations and I started back to work the following week.

Needless to say, I basically refused to live with no furniture for the first part of the school year. My saintly husband did many, many rooms by himself while I was at work. He’s a keeper.
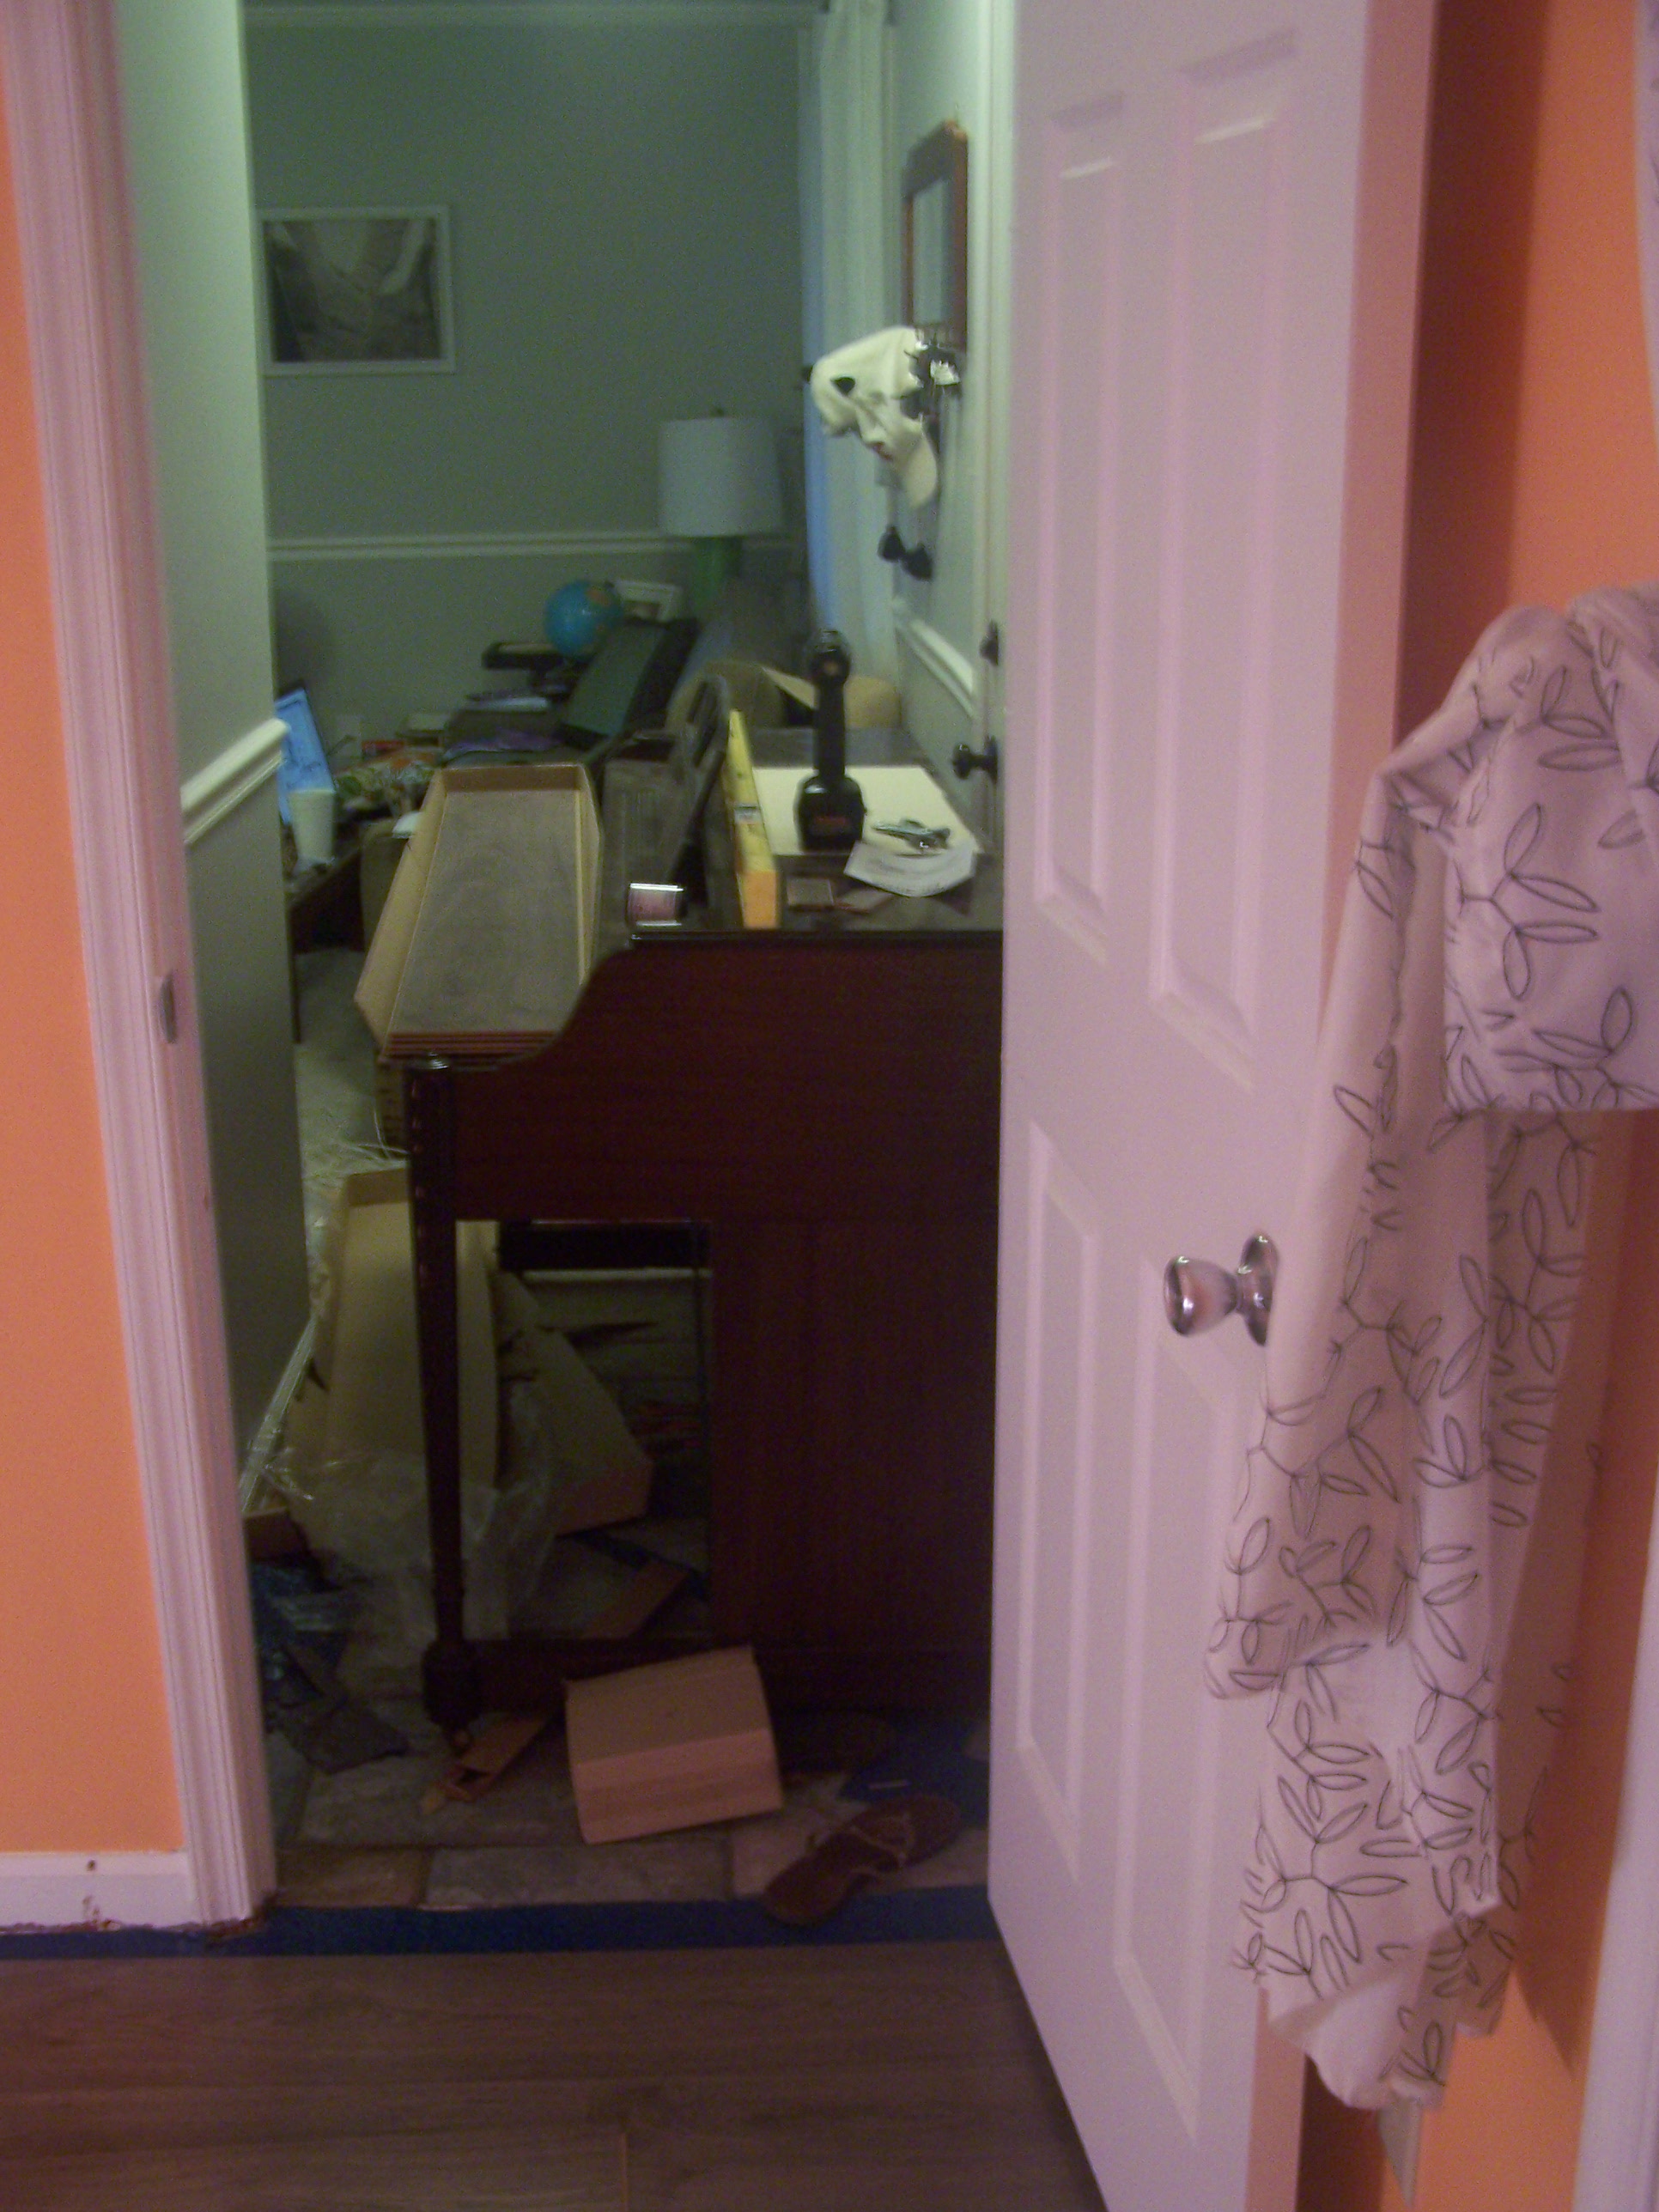
**Helpful hint…don’t box yourself in with a 300 lb. piano.** Another helpful tip, never try to move said piano by yourself if you are a small girl.**
I did that once about 4 years ago and couldn’t walk for a few days. Whatever, I was still proud. I kept this awful photo just because it’s so funny that we shut ourselves into this room. You’ll note that the piano’s keyboard tray made a great dispenser of flooring.
Aaaaaand, Michael’s room: check!

Nothing you can say will make me hate that wall color, as badly as I do want to repaint his room. It’s called Marmalade by Behr. And I love it. L-O-V-E-LOVE it.
We figured the next best place to do was our office/guest room because it’s a room we don’t need. This, however, meant that we had to start doing the upstairs and just keep on truckin’. Our entire upstairs has attached floors and we felt like putting transitions in every doorway would make the upstairs too broken up. Also, pulling carpet out of plywood=110x easier than out of concrete.
I don’t have a ton of photos of this process because it was pretty self-explanatory:
1. Pull up carpet/padding.
2. Pull up tack strip (the WORST).
3. Sweep everything up and clear the floor.
4. Start laying underlay in the opposite direction of planks and tape each strip together.
5. Start laying plans with spacers of about 1/4″ next to baseboards (check for level in case you have to shave a bit off).
6. Space them out so all of the joints aren’t RIGHT next to each other and get to layin’ floors!
7. Start cutting quarter round to your desired lengths, tack in with tiny nails, drive in enough to cover, go around every. thing.
8. Pass out on your floor. Amen.
So here is the guest room pre-floor:


Then we did into our hallway and my sweet husband did my ENTIRE BEDROOM by himself while I was at work. What. A. Man.
So, we moved to downstairs: kitchen first, then living room (woof).
The kitchen/living room have the most photos because I was on Christmas break. Woo hoo! That was almost 8 months ago! *Worst Blogger Ever Award- Congrats to me!*
Again, Chris tore out all of the previous wood-looking laminate before while I was at work- no photos. However, you might wonder why we took thick laminate out instead of matching the rest of the house. Well, two reasons, one transition wasn’t properly installed and it would come up if you looked at it the wrong way. For two, it was improperly installed and had some water damage/bubbles in it. So yeah, later cherry-looking laminate!
Under that was…this:
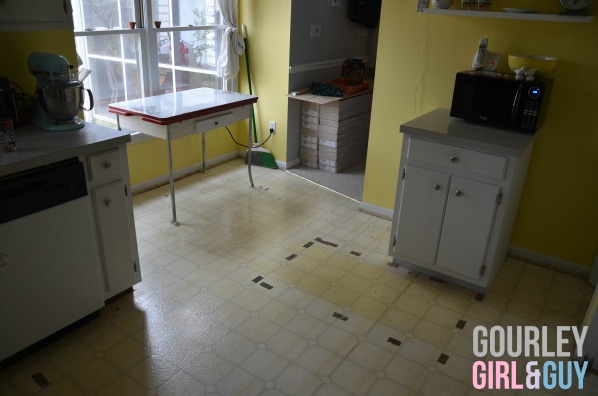
No, for real. What HAPPENED on those floors?! Gross. Tape remnants were everywhere, GIANT yellow spots (as you can see). What. The. Heck. So yeah, we weren’t sad to tear that up as well. We considered floating over it, but planned to do the new laminate in the living room as well and didn’t want to risk anything being “off” in terms of leveling.
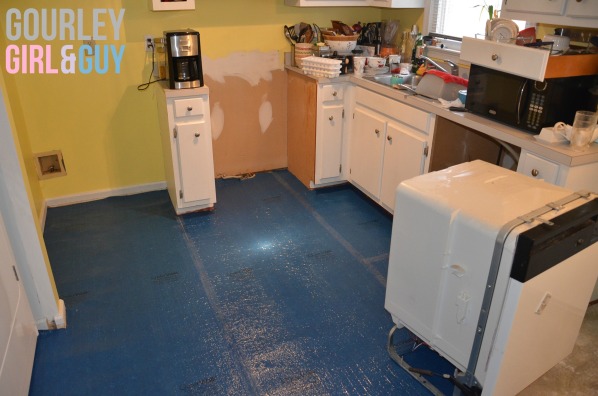
Next step: Enlisting a teenager, a heat gun, a small spade, and a utility knife to tear up linoleum.

Once all of the linoleum was up, we got back to work just like the other rooms. You might notice that we ran our floors completely under our appliances. We researched a million different ways (the previous floors only went partly under the appliances), but this floor moves easily so we wanted all surfaces to be secured. Not everyone will want that, but we made sure our appliances evenly distributed their weight and so far, so good! 🙂
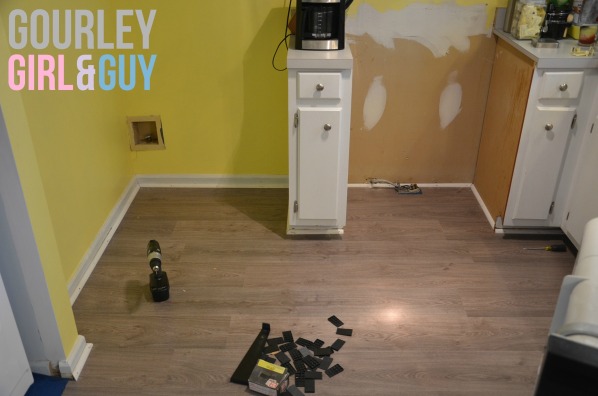
 This is where our floors “meet” so to speak. We weren’t ready to go whole hog in the living room without doing quarter round in the kitchen. This also shows a pretty good representation of the floor’s color. I love it. It’s a sickness.
Then we installed quarter round (just like upstairs) and- tada!- a completed kitchen! 🙂
**Please don’t mind that the quarter round isn’t caulked to the baseboards and none of it has been repainted. We’re very good at not biting off more than we can chew at any one time and almost all rooms are being repainted anyway.**


See how messy the counter tops are? This is improvement. During the kitchen-floor-process, the living room looked like this:


This is keeping it real to the max. Our house was a flipping disaster. Thank goodness we could both stay home and work on it all day.
So, we FINALLY started the living room. For some perspective, our living room is about 12 feet wide at its widest point, but about 24 feet front to back. This room is ridiculous to style, decorate, orient, everything. Painting it the first time (the walls SUCKED in paint) took almost a week and a half because of the coats on the ceiling, walls, chair rail, crown molding, and baseboards. It was in.sane.
I’ll let these photos do the talking. Keep an eye out for our “sketchy surprise” from under the carpet, our “helper”, and the migration of our Christmas tree. I refused to take it down so we just moved it around. A lot.


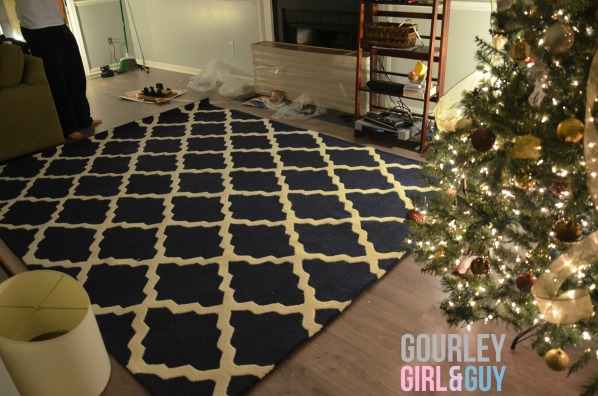
Is it just me or does anyone else LOVE how Christmas lights reflect on a hard floor as opposed to carpet? I sat and stared for a while. It’s the little things, right? No? Maybe that’s just me, then. OK.

Then, the BEST thing ever happened. Well, not *THEN* because it really happened on Black Friday…but RugsUSA had a HUGE sale. We got a rug that is normally $800 for about $200 bucks. I may have screamed/cried/squealed and even figured out my Christmas present when looking at the bank account to see if we could afford the rug. Sorry again, honey. But, it was worth it. We LOVE our rug. It is the Moroccan Trellis in Navy, though it doesn’t read quite as navy here as it does in real life. So, come over. We’ll put up a Christmas tree, lay on our cushy rug, and stare at the pretty Christmas light reflection in the floor. 🙂


Our TV has been taken down since then and no longer hangs over the fireplace, we have new arm chairs that caused a whole rearrange of the living room, hung floating shelves over the buffet, and we moved the piano in (it sits where the tree is in the last photo) as you saw in my last post…so…there are clearly more posts to be had on this ever-changing living room. Seriously though, come over any time just don’t be shocked that our house is a disaster zone. In the meantime, anyone done any laminate flooring? We HATED it while we were in the midst, but any time we even think of talking about moving, we get so sad about leaving our floors. Stupid, but true! We love them and would do them ALL over again (and likely be much better at it the next time)!
Thanks for bearing with me through all of the pictures and ALL of the words! What was YOUR worst house project?! 🙂

I am tired looking at the pictures, I have gotten into projects like this…well done!
Best, Celia
Thanks, Celia! It was exhausting, but SO rewarding! Thank you SO much for reading!
xoxo, Jessica
Ummmm……first of all, I could have told you about the credit card numbers. I learned that when I worked at the jewelry store. I thought it was interesting as well so I guess that’s where you get your ‘nerdiness’ from.
Next, you never told me about the vinyl in your kitchen. That was quite a surprise! I wonder what the tape was for and how on earth did the floor turn yellow when it’s the part that is out in the open?
The floors look beautiful and Chris really is a saint! (I’m the mother-in-law and I totally put him up for sainthood!) I wish I was financially able to help my ‘renters’ do more at the house.
I love you guys – thanks for sharing this major project and for your honesty about the complete chaos it takes to do a project like this!
I’m not surprised you knew the credit card thing. It’s crazy, right?
That vinyl was nasty. Like, so nasty. It’s still in the bathroom downstairs…and maybe under the washing machine. I’m not sure. That should be fun…
Chris really is a saint, you’re right! 🙂 We’re glad it looks a ton better and glad you appreciated the chaos- haha. We love you, too!
I love the floors! You can definitely put that on a list of projects I would never attempt with my husband, though!!! Nicely done! Pinning! 🙂